Monday, October 3, 2011
Tuesday, September 20, 2011
Sand Dollar Transformation
In my previous post about our vacation I mentioned that we were able to find sand dollars on the beach, so I thought I would share the process we used for bleaching them.
When you first collect them they are brown and have little spines all over them. We let them sit in the sun to dry out.

Then we soaked them in plain water to get the sand off of them. You soak for a little bit, and rinse until the water comes out clean. That way all of the sand is removed.
After that it is time for the bleach. Use a 30% bleach to water mixture and soak the sand dollars for about 15 minutes, then let them sun dry. After they are dried if they are not as white as you would like you just soak them in the bleach/water mixture again for another 10-15 minutes until white enough. And they should turn out somewhat like this:

So what are we going to do with these you may ask? Well along with a few other purchases that we made on vacation, we plan on redecorating the guest bathroom upstairs. Here is a sneak peak at some of the other items that will be used:
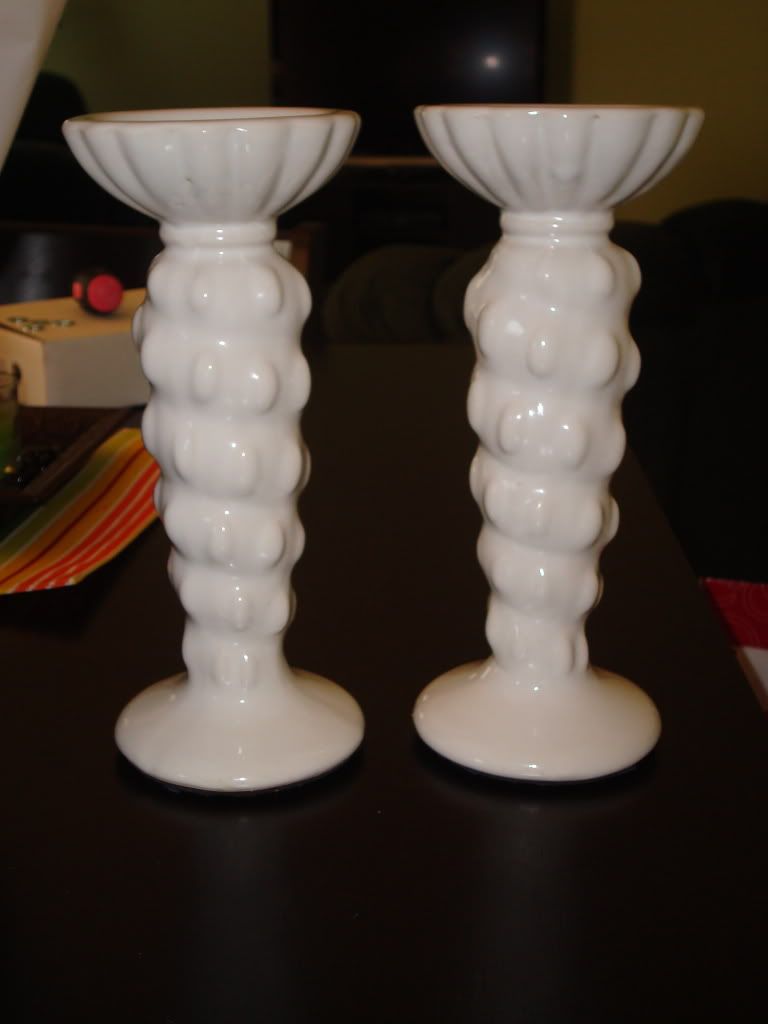
Candle Pedestals from Pier One
Sea shells from the beach

Shell dish from the Harry and David Outlet store in Hilton Head

Shell we bought from a little shop in Hilton Head

Night light from St. Francis Thrift Store from Hilton Head (it was only 50 cents!)

We'll let you know how it turns out!
Sunday, September 18, 2011
We're Back!!
No we haven't intentionally been taking a break from blogging. We have just been on an amazing vacation down in Hilton Head, SC. We had the best weather, it was 90 degrees and not a cloud in the sky every day we were there. We rented a house on the ocean with Wayne's parents, his grandparents, and some friends of theirs. We spent most of our time in the pool, shopping, or laying out at the beach and swimming in the ocean. One day we rented jet skis and went on a tour around the island where we got to see about 20 dolphins close up, they were literally 8-10 feet away from us. We also found some sand dollars on the beach that were were able to take back to the house and bleach (I think I am going to do the guest bathroom with beach stuff, remember these Seashell Candle Pedestals). It was just so great to get out of the cold weather we have been having in Ohio, and from all the stress from work!
So enough jabbering, here's the trip in pictures:


More updates to come on the goodies we got on our shopping adventures!
So enough jabbering, here's the trip in pictures:
Ready to go

Hotel in Charlotte, NC

Beach view from our porch


Our House


Sand Dollars


Dinner at El Tierra


Parrot outside some of the shops

Sand dollars after we bleached them
More updates to come on the goodies we got on our shopping adventures!
Wednesday, September 7, 2011
Labor Day Weekend
Over this fabulously long weekend we decided to pack up and go camping in Jackson. At least for a couple days. Wayne, his friend Cody and I stayed down there from Friday night until Sunday morning. When we got back on Sunday the weather was really crappy so we didn't really do much except go out to Applebee's for dinner. On Monday the weather was a little better, and we were able to finish the dresser, Wayne changed the oil in my car, I made crumb cake, cleaned the house, and got a bunch of laundry done. Overall it was a very relaxing but productive weekend.


Hope everyone else had a great holiday weekend!
Here are some pictures from the weekend:


Hope everyone else had a great holiday weekend!
Tuesday, September 6, 2011
Dressier Dresser
The project that has taken me forever three months is finally complete, and it feels so good to say "I'M DONE!!"
So here is is the longly awaited step by step of how this project went down:


So here is is the longly awaited step by step of how this project went down:
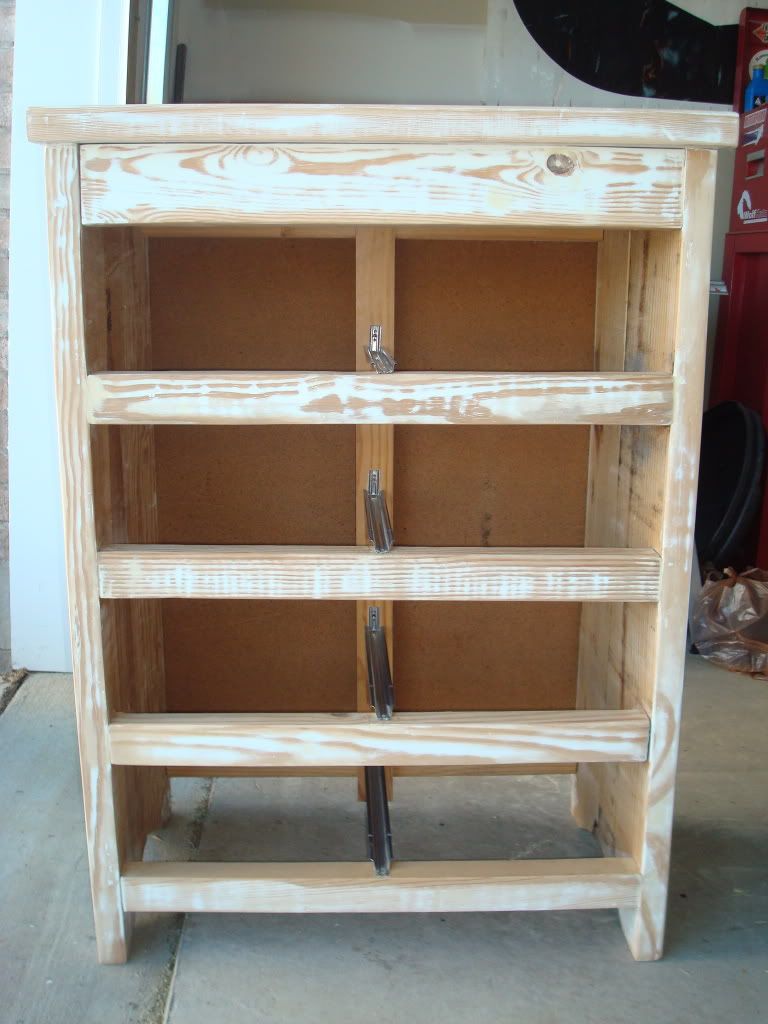
Here is what it looked like when I got it from the rental house:
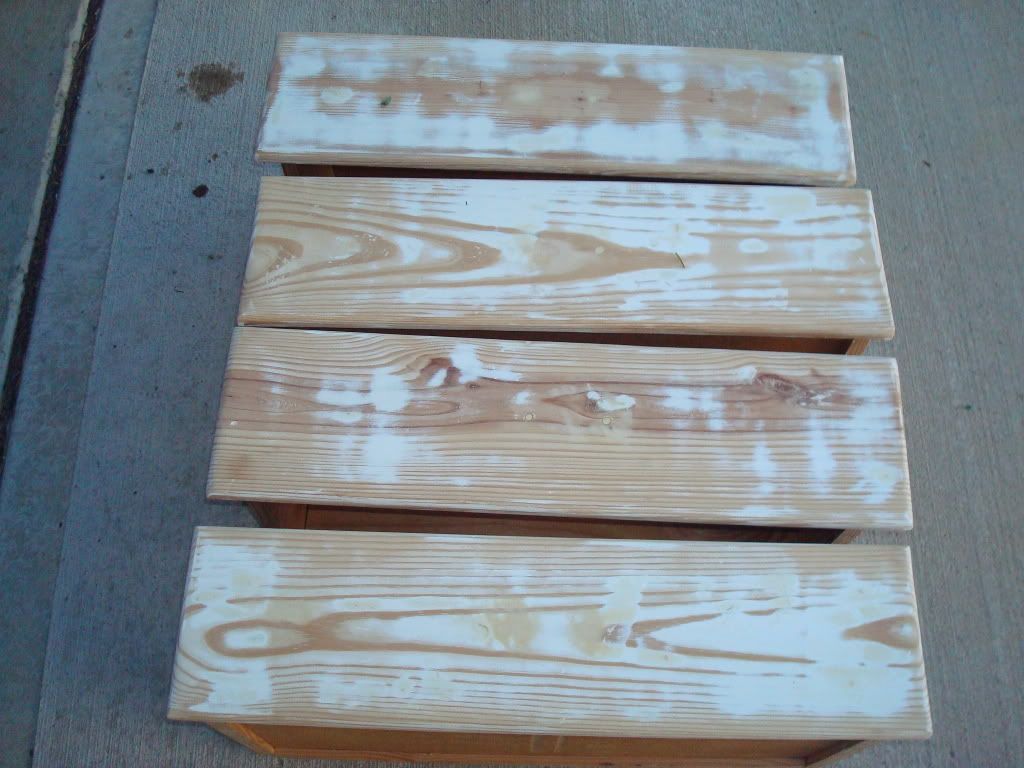
First I removed the handles from the drawers and started sanding it down until it looked like this:
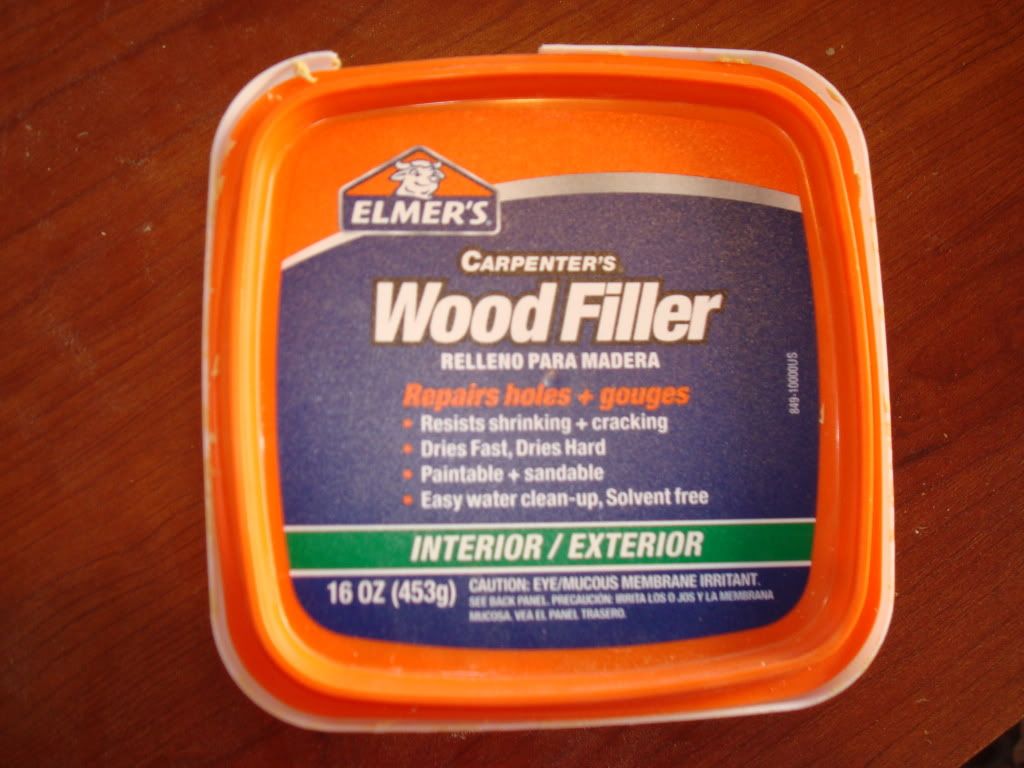
Then I filled in the holes and dents with Elmer's Wood Filler, and sanded again:
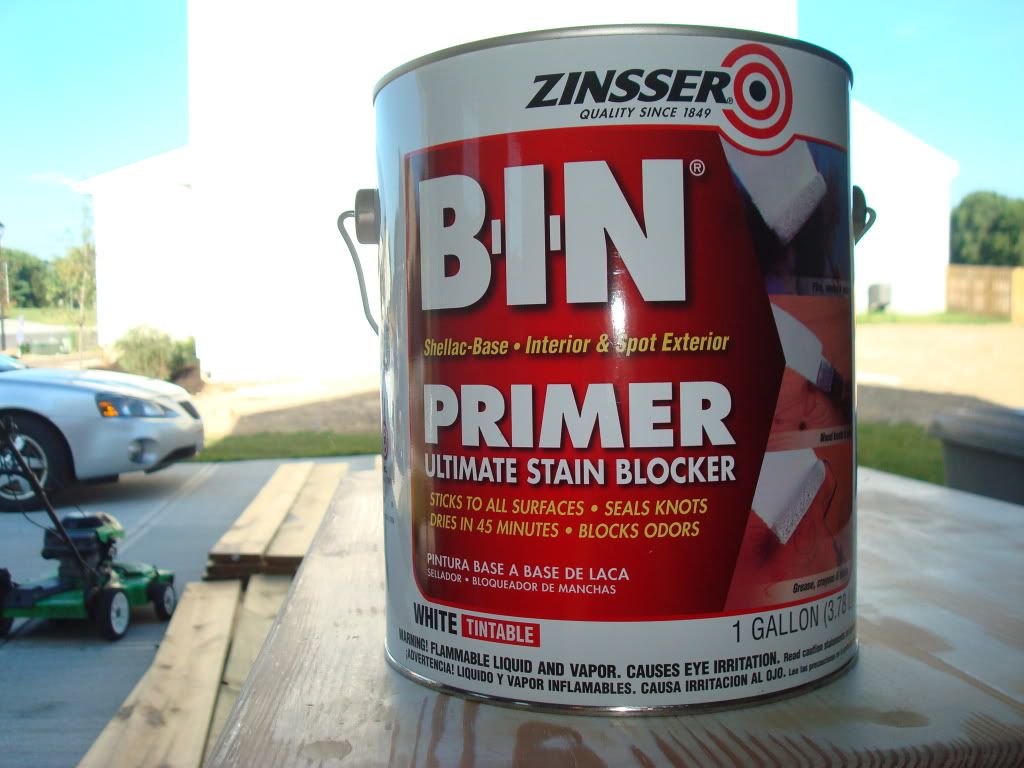
Then it was time for the primer:
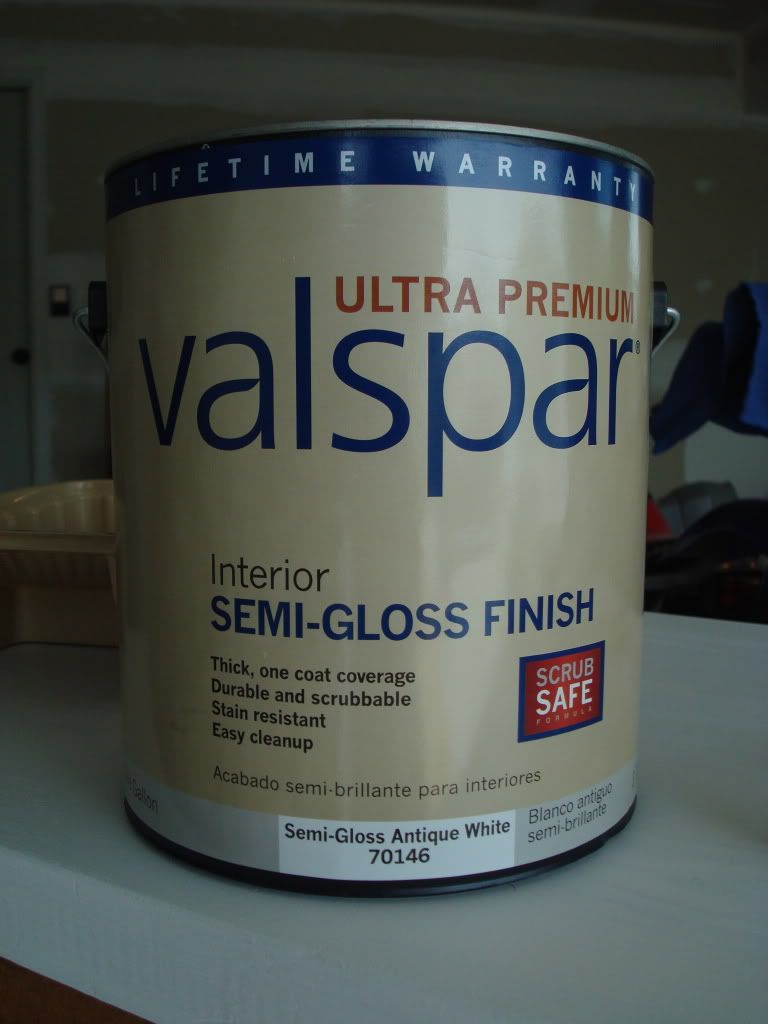
After the primer dried it was time for paint, I chose Valspar Antique White in Semi-Gloss Finish:
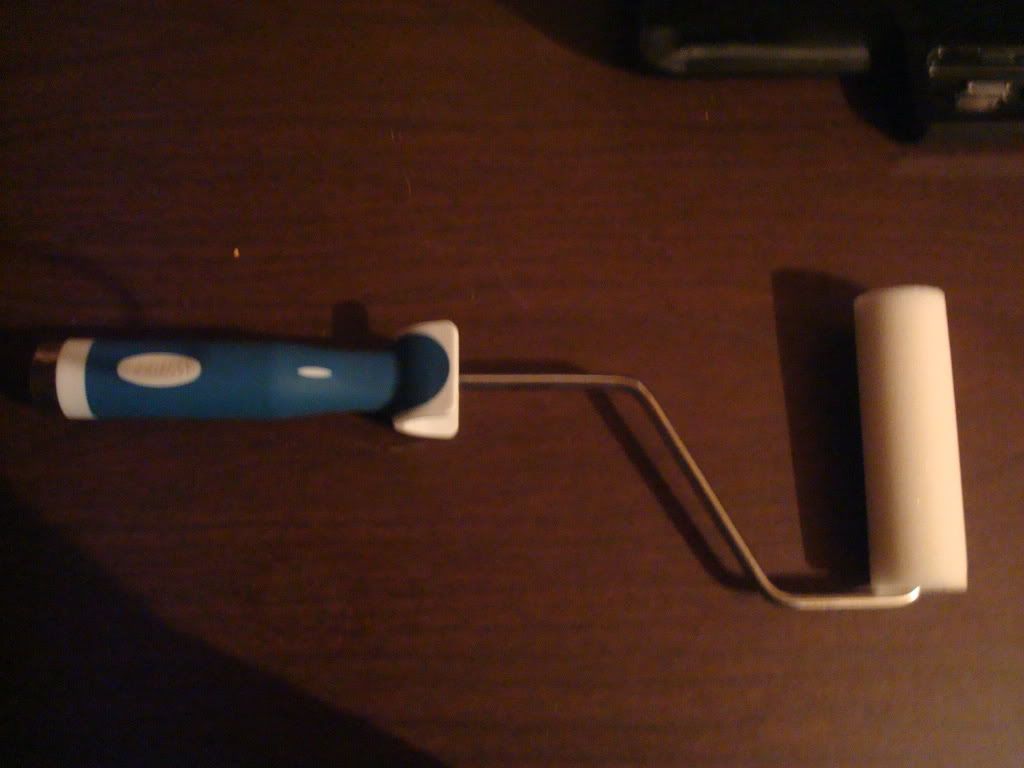
This is where things got complicated. I used a mini roller to apply the paint, but it left a sort of bumpy texture that was not right for the dresser. So I went back to Lowes to see what other options I might have to paint with, and that is when I found this cabinet roller that was made out of compressed foam. Sounded good to me, and it sure was. So with this baby I was able to get the paint on smoothly:

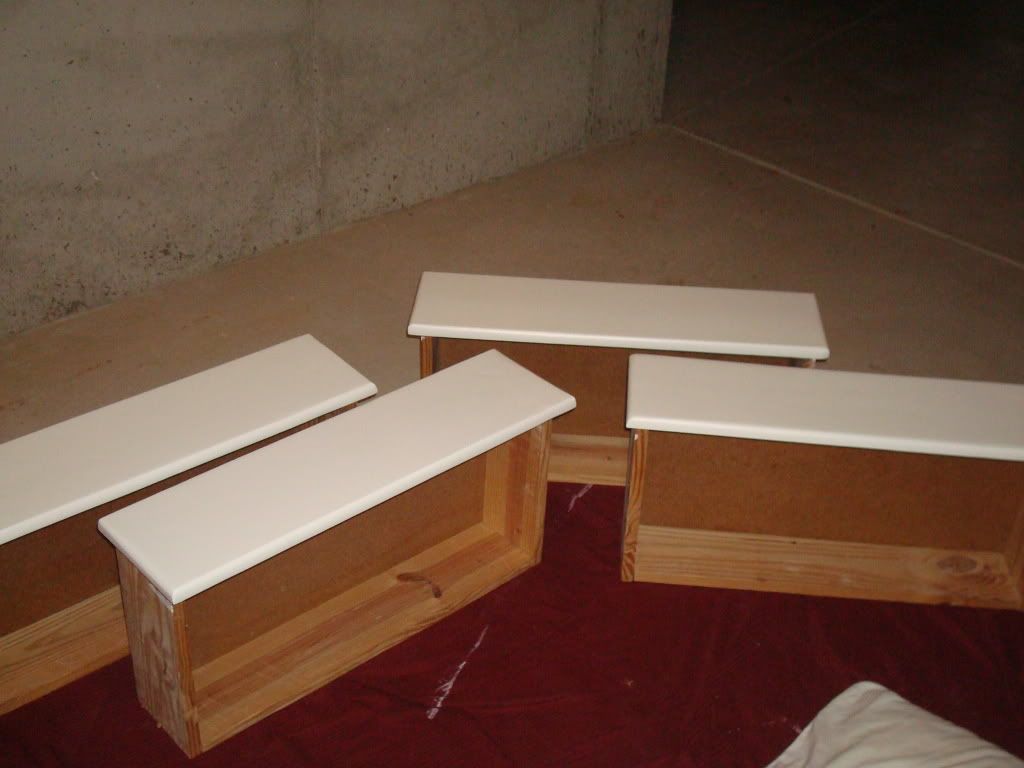
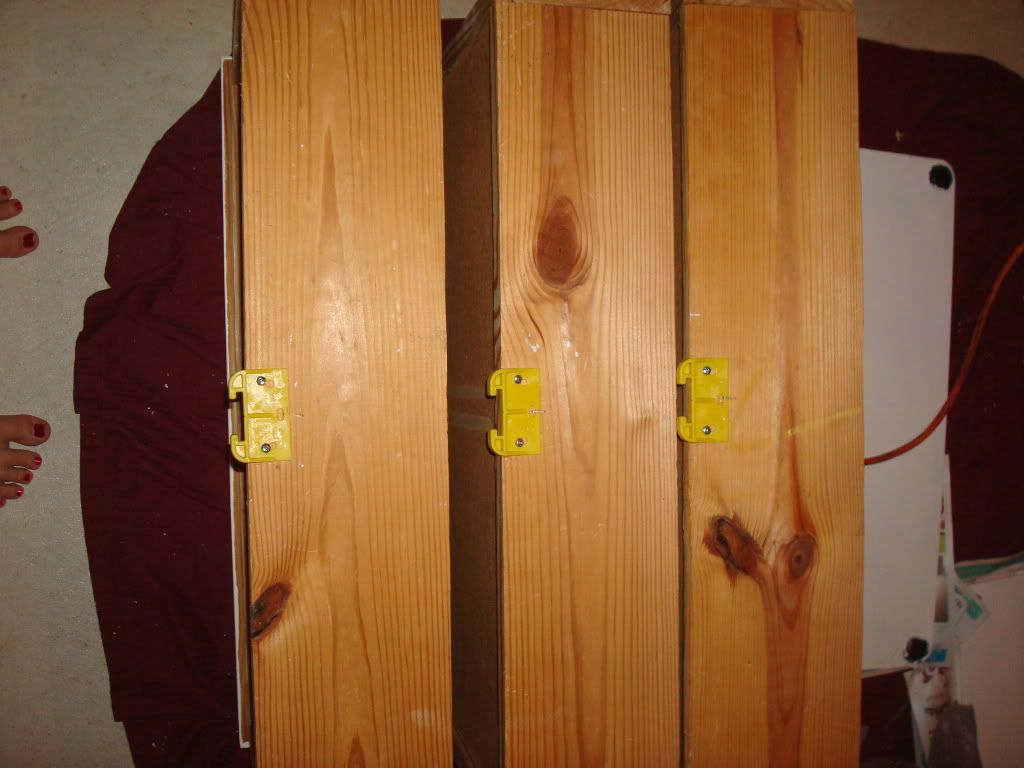
Next it was time to add the track guides and handles (from Lowes) which I did all by myself my handy boyfriend so kindly attached

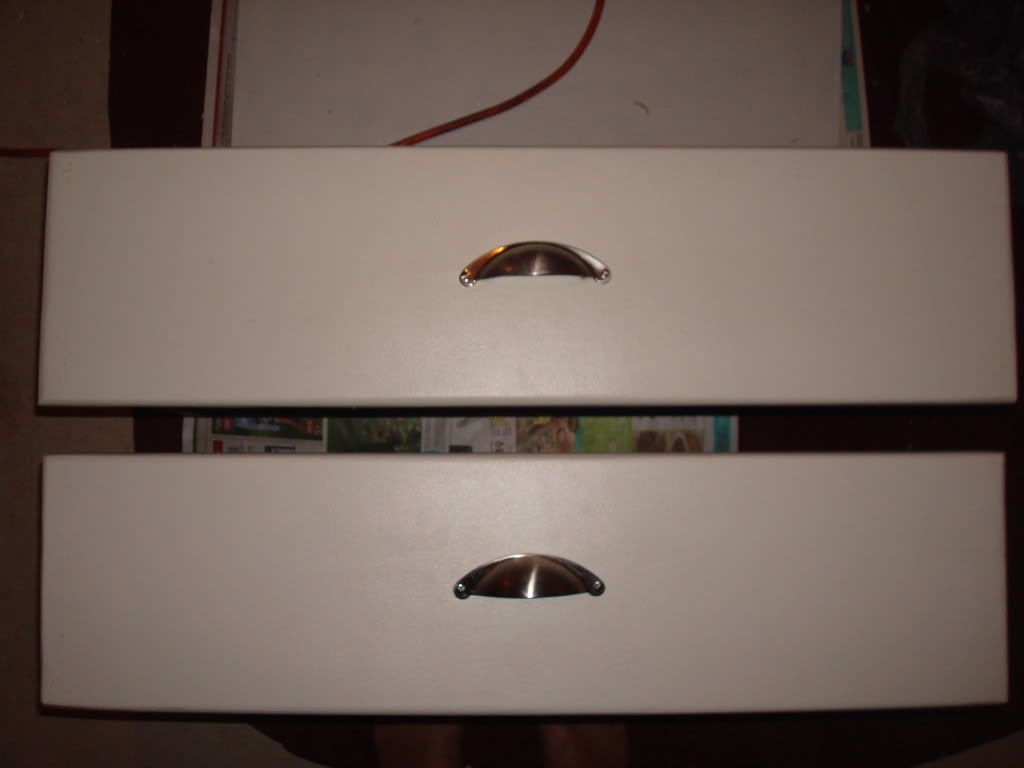
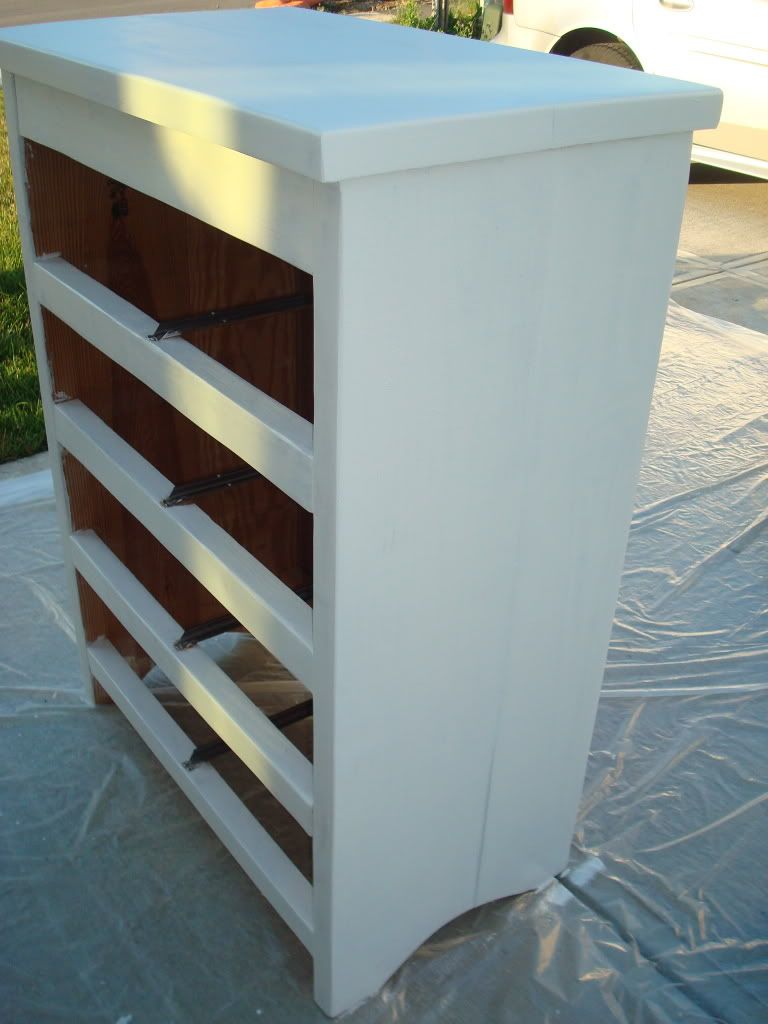
And that was it! Definitely shouldn't have taken three months, but here is the finished product:
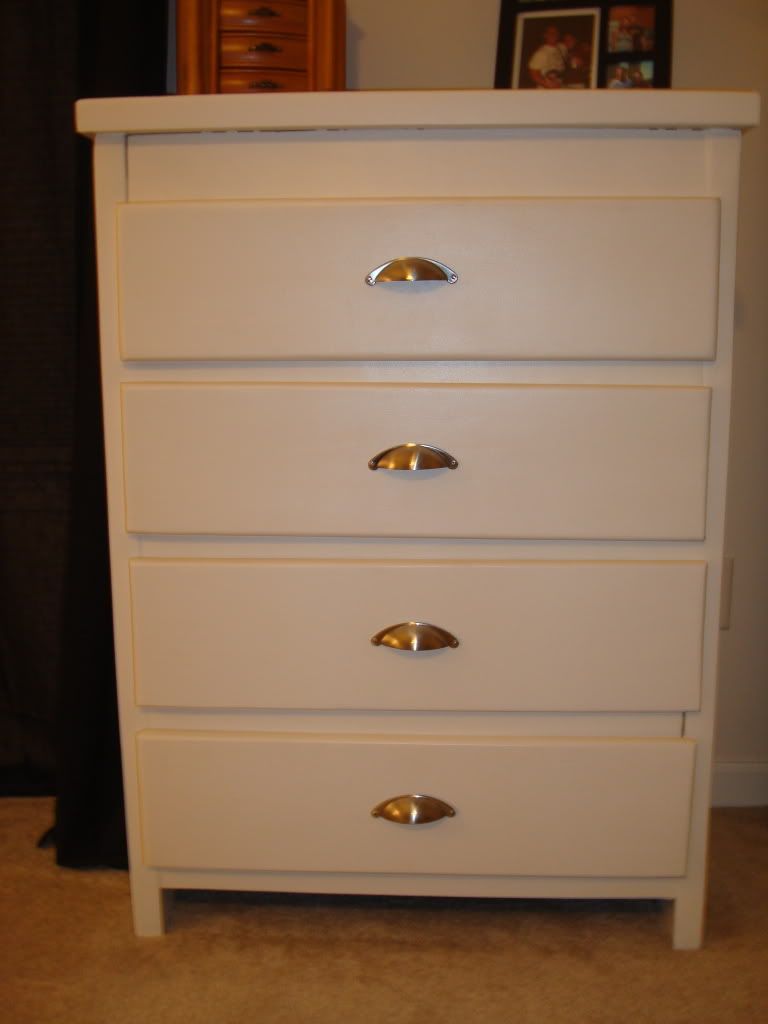
There you have it, my first venture in refinishing furniture, it may not be perfect but it is definitely better than where I started!
Oh and there will be more updates on what we did over the holiday weekend to come, so stay tuned :)
Subscribe to:
Comments (Atom)