So here is is the longly awaited step by step of how this project went down:
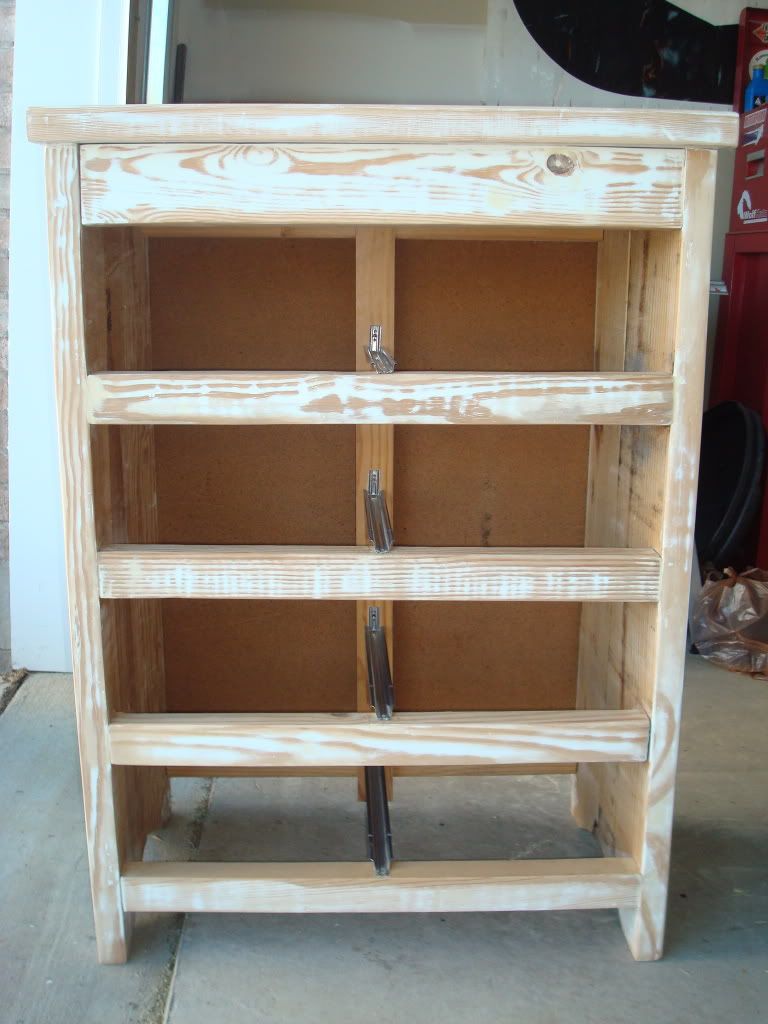
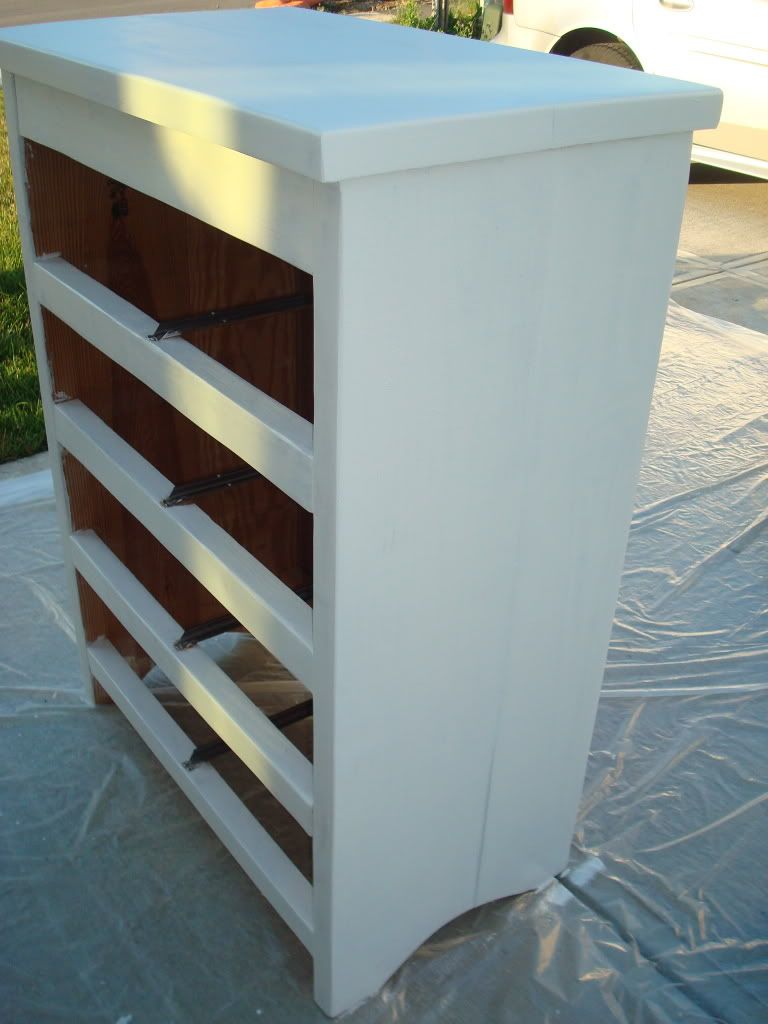
Here is what it looked like when I got it from the rental house:

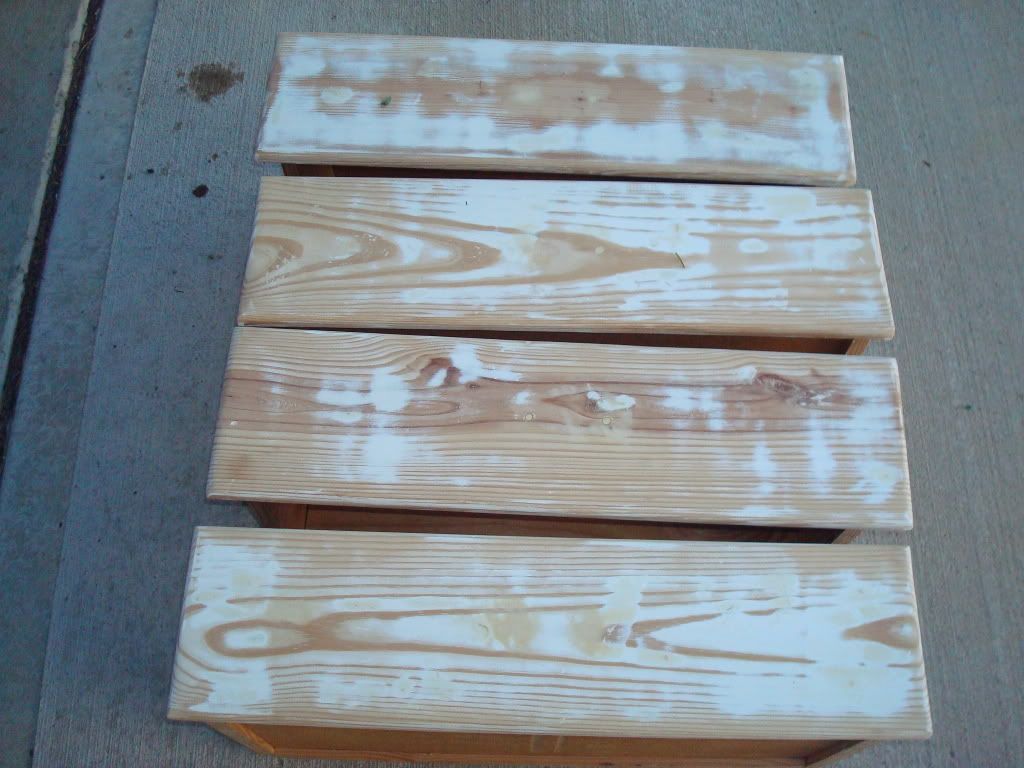
First I removed the handles from the drawers and started sanding it down until it looked like this:
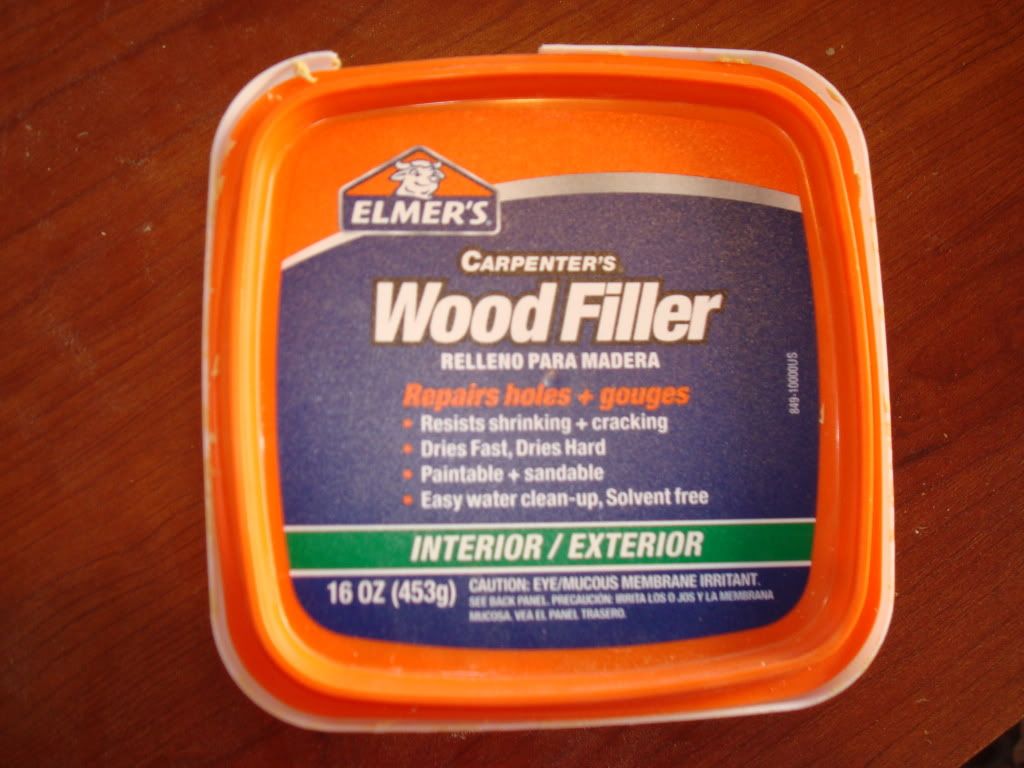
Then I filled in the holes and dents with Elmer's Wood Filler, and sanded again:
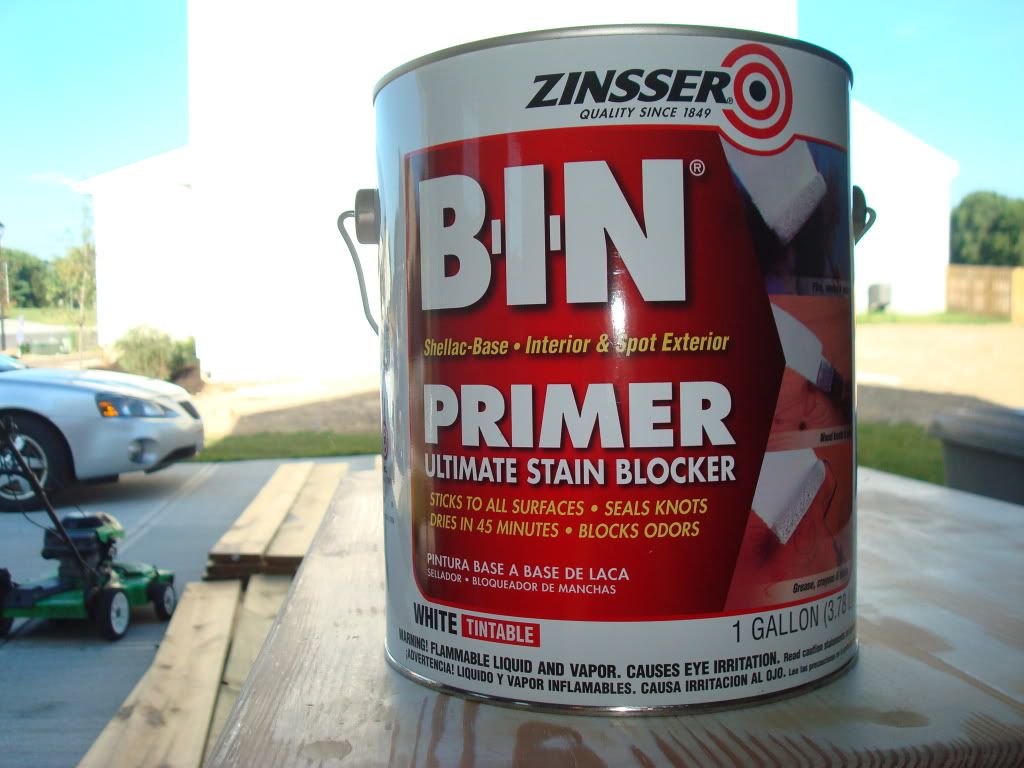
Then it was time for the primer:
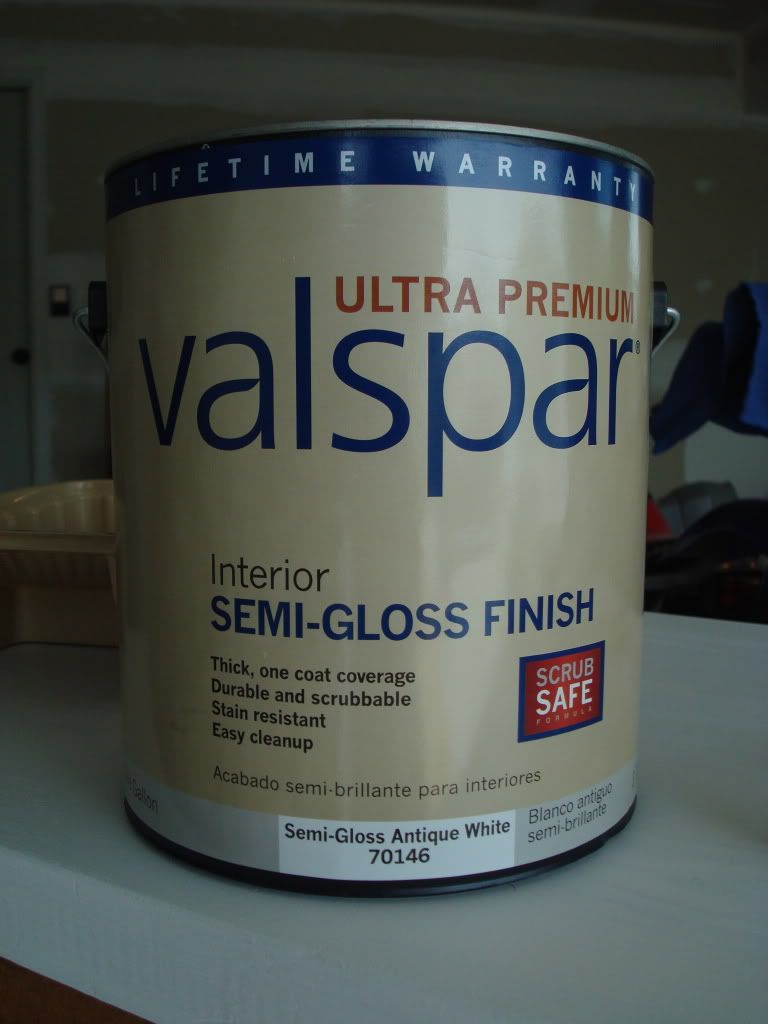
After the primer dried it was time for paint, I chose Valspar Antique White in Semi-Gloss Finish:
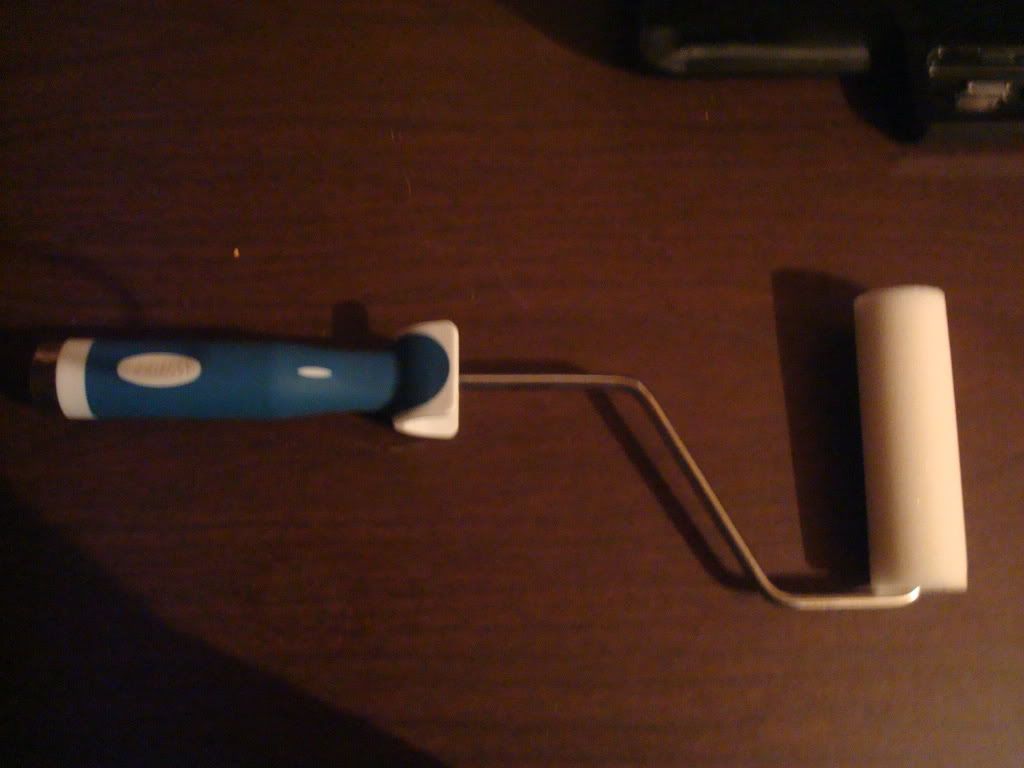
This is where things got complicated. I used a mini roller to apply the paint, but it left a sort of bumpy texture that was not right for the dresser. So I went back to Lowes to see what other options I might have to paint with, and that is when I found this cabinet roller that was made out of compressed foam. Sounded good to me, and it sure was. So with this baby I was able to get the paint on smoothly:

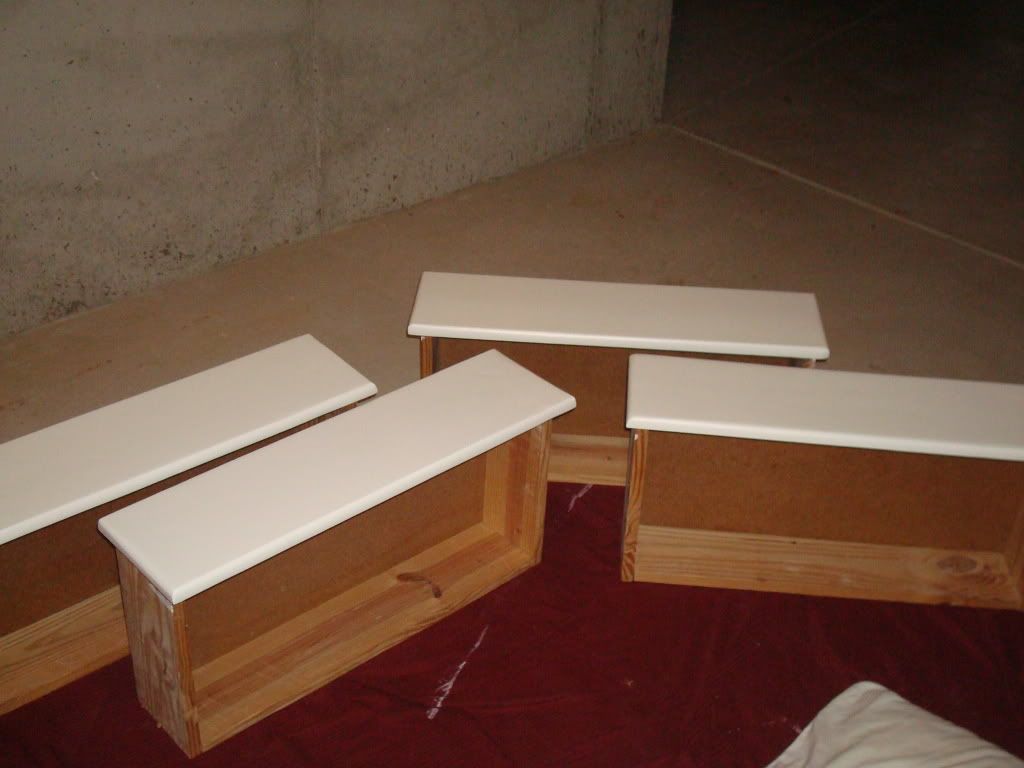
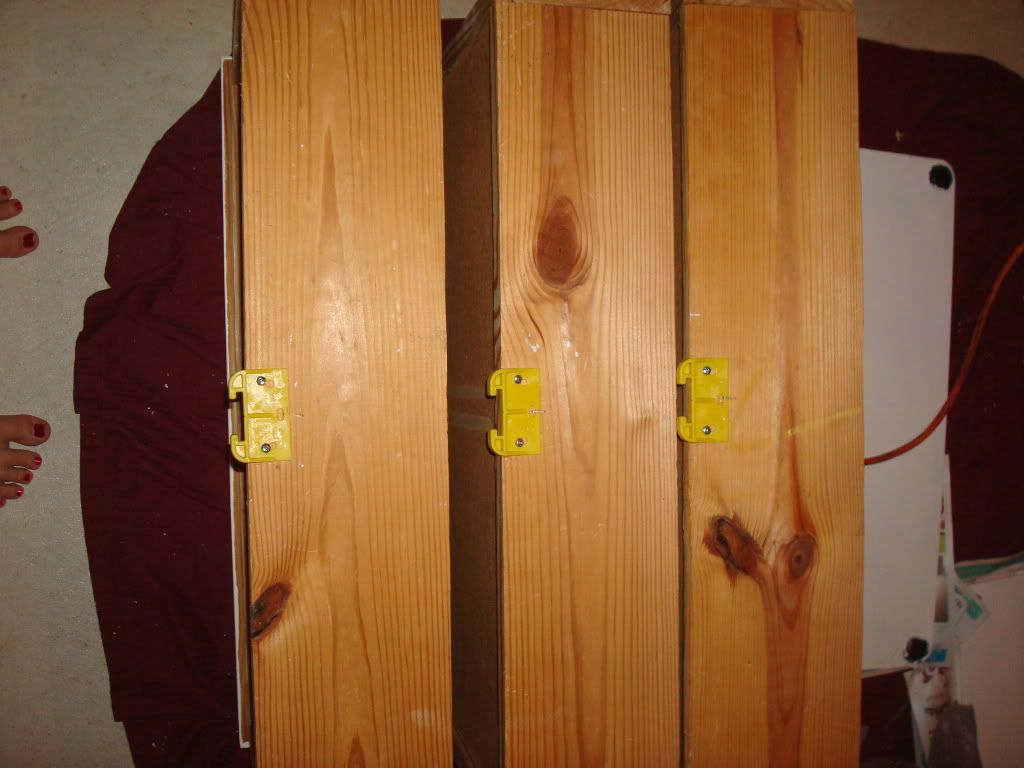
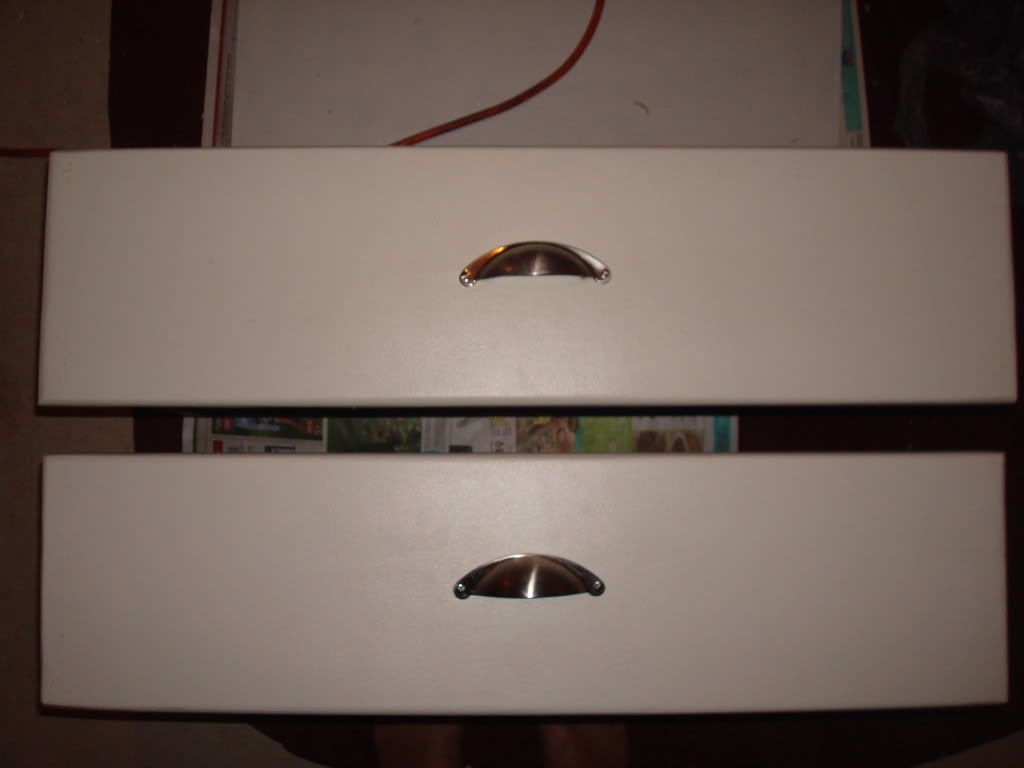
Next it was time to add the track guides and handles (from Lowes) which I did all by myself my handy boyfriend so kindly attached

And that was it! Definitely shouldn't have taken three months, but here is the finished product:
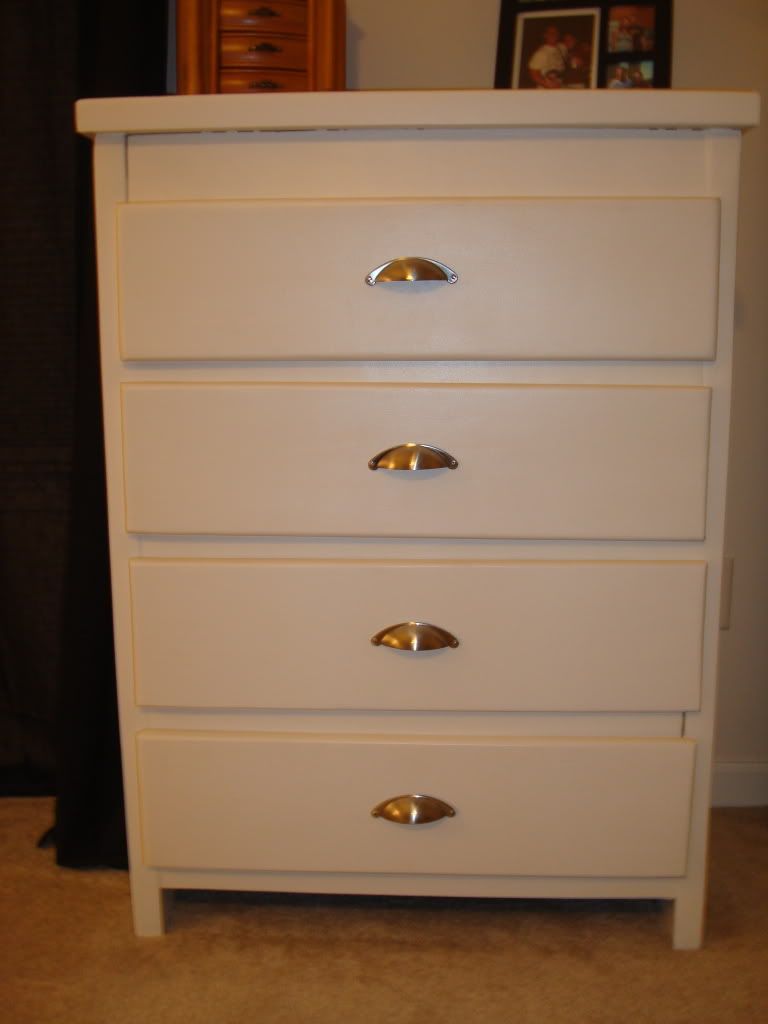
There you have it, my first venture in refinishing furniture, it may not be perfect but it is definitely better than where I started!
Oh and there will be more updates on what we did over the holiday weekend to come, so stay tuned :)
No comments:
Post a Comment